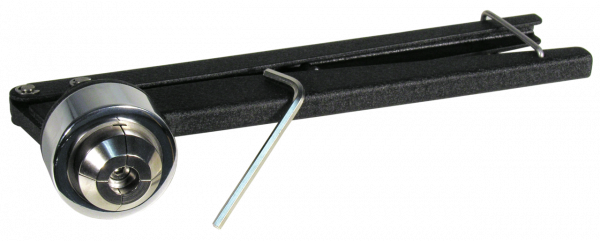
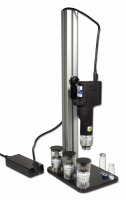
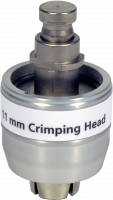
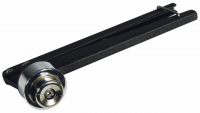
Crimping tool for 11 mm crimp caps, manual, standard
*taxes and shipping not included
Delivery time approx. 5 working days
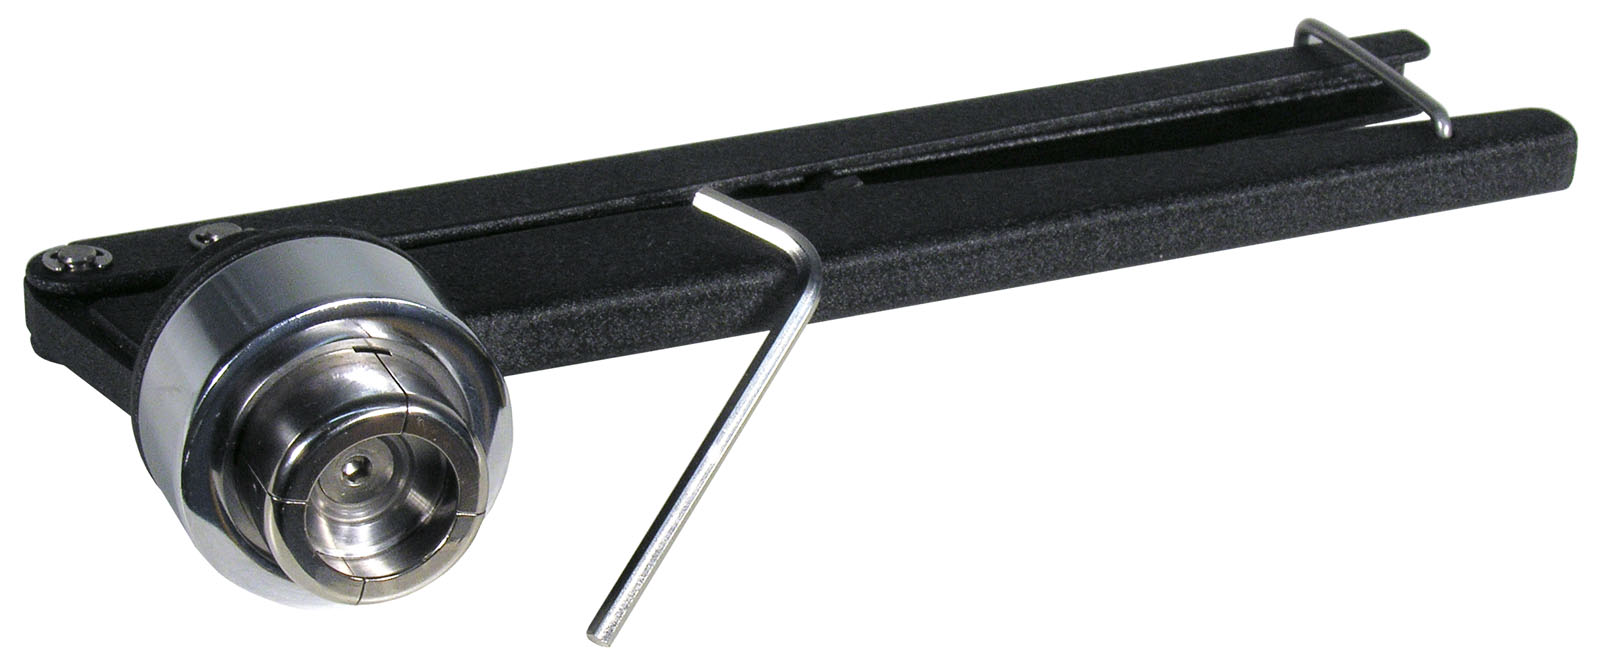
Manual crimper (standard), height adjustable, for 11 mm aluminum crimp caps.
| Type of crimper | Manual, standard |
| Nominal diameter | N 11 |
| Cap type | Crimp cap (aluminum), Crimp cap (magnetic), Crimp cap (magnetic bi-metal) |
| Recommended application(s) | For crimping of 11 mm crimp caps |
| Storage temperature | 15–25 °C / 59–77 °F |
| Scope of delivery | 1 x crimping tool N 11 |
| Gross weight (incl. packaging) | 664 g / 1.46 lbs |
| Packaging dimensions | 135 x 224 x 65 mm / 5.31 x 8.82 x 2.56 Inch |
| Hazardous material | No |
- Download Instructions standard (manual) crimping tools (DE/EN)
- Download Poster Optimales Verbördeln (DE)
- Download Poster Optimal crimping (EN)
- Download Brochure Vials and caps (English)
- Download Brochure Crimping tools (EN)
- Download Broschüre Bördelwerkzeuge (DE)
- Download Catalog Chromatography (English)
Features of manual, standard crimping tools
- Very robust crimping tool completely made from steel with a chemical resistant surface finish; long lifetime
- Blocky handles allow grabbing and pressing of the tool handles at any position
- Adjustable crimping height by a hexagon key, which allows to move the inner part of the crimping head up and down (not possible for manual crimpers N 8). Crimping pressure adjustable by a screw in the handle; fixation of the crimp setting by a nut.
- Decappers don’t need any adjustment
- Activated by pressing both handles together; crimping process stops when the handle hits the pressure adjustment screw
Adjustment and handling
Adjustment of crimping pressure
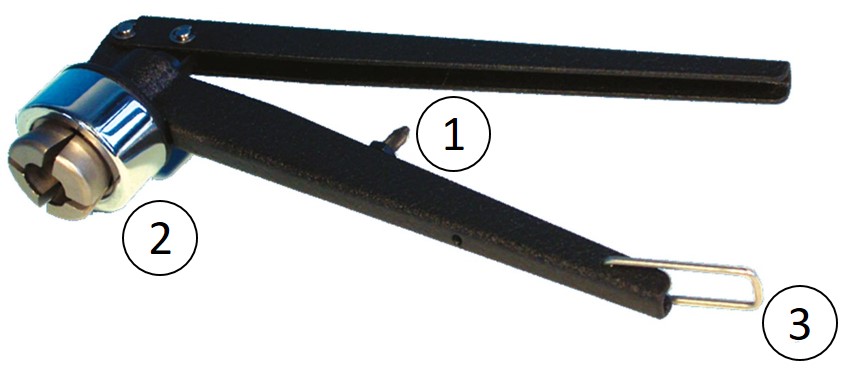
1. Further unscrew the screw (1) in the handle → handles cannot be pressed so close together → lower crimping pressure
2. Further screw the screw (1) in the handle → handles can be pressed closer together → higher crimping pressure
Adjustment of crimping height
1. Fixate the handles of the crimper with the striker (3).
2. Hold crimping head (2) firmly in one hand and insert the supplied hexagon key in the screw inside the head.
3. a) Make a half up to a complete turn to the left (counter clockwise rotation), in case the crimp is too loose. b) Turn the hexagon key to the right (clockwise rotation), in case the crimp is too tight.
Manual, standard crimping tools
Additional information on adjustment and handling of the tool:
Instruction leaflet as pdf download on the respective product detail section under the “Downloads” tab.
In order to verify the crimp result and the adjustment of the crimper, please check our poster “Optimal crimping” under the download tab.
 Decapping tool for 11 mm and 20 mm aluminum caps, manual, plier style, dual size
  Crimp closure, N 11, alu., center hole, Natural Rubber/Butyl/TEF, 1.0 mm
  Crimp closure, N 11, alu., center hole,Silicone white/PTFE blue,cross-slit,1.5mm
  Crimp closure, N 11, alu., center hole, Silicone white/PTFE red, 1.3 mm
  Crimp closure, N 11, alu., center hole, PTFE red/Silicone white/PTFE red, 1.0 mm
  Crimp neck vial, N 11, 11.6x32.0 mm, 1.5 mL, flat bottom, amber
  Crimp neck vial, N 11, 11.6x32.0 mm, 1.5 mL, label, flat bottom, clear
  Crimp neck vial, N 11, 11.6x32.0 mm, 1.5 mL, label, flat bottom, amber
  Crimp neck vial, N 11, 11.6x32.0 mm, clear, with integr. 0.2 mL insert


