Standard solution NANOCONTROL COD 160
*taxes and shipping not included
Delivery time approx. 5 working days
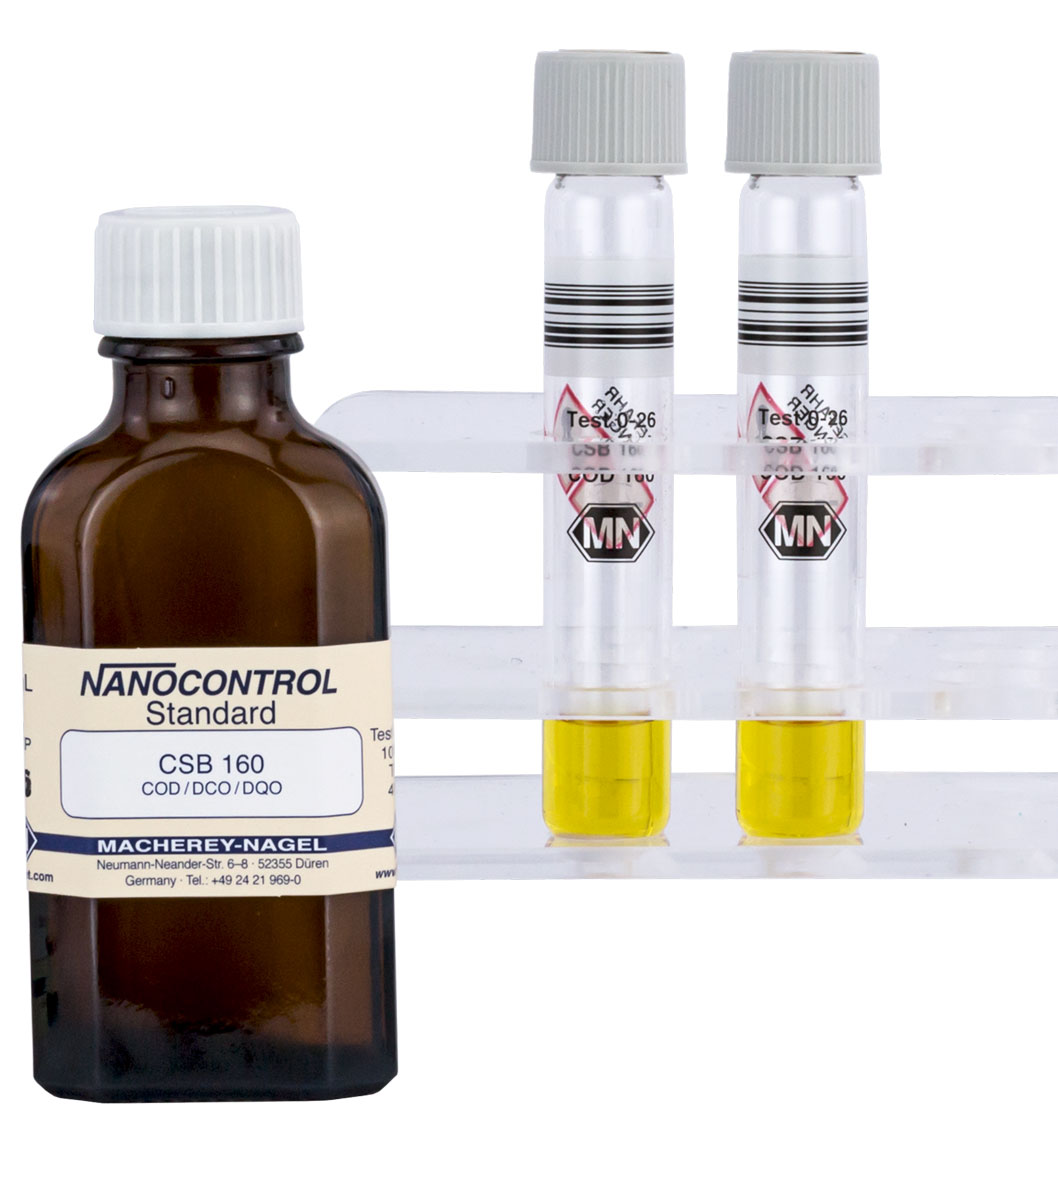
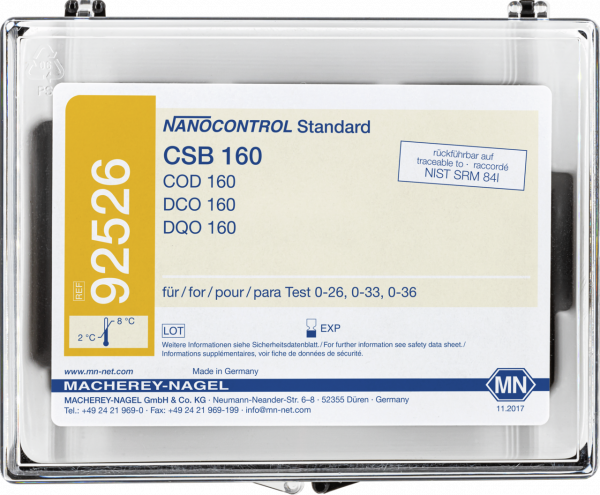
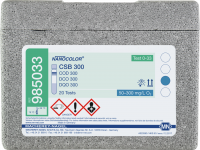
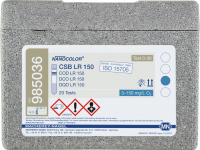
This standard solution is perfectly suited to control the tube tests NANOCOLOR COD 160 and COD 300.
| Brand | NANOCONTROL |
| Parameter | COD |
| Parameter 1 | COD / NANOCOLOR COD 160 (0-26) / 521-Concentration 100 mg/L O₂ / 610-Confidence interval 90 - 110 mg/L O₂ / Spiking mg/L O₂ |
| Parameter 2 | COD / NANOCOLOR COD 300 (0-33) / 521-Concentration 100 mg/L O₂ / 610-Confidence interval 90 - 110 mg/L O₂ / Spiking mg/L O₂ |
| Parameter 3 | COD / NANOCOLOR COD LR 150 (0-36) / 521-Concentration 100 mg/L O₂ / 610-Confidence interval 90 - 110 mg/L O₂ / Spiking mg/L O₂ |
| Shelf life (from production) | 1 Year(s) |
| Shelf life (after openeing) | 6 Week(s) |
| Storage temperature | 2–8 °C / 36–46 °F |
| Scope of delivery | 1 standard solution, 1 instruction leaflet |
| Gross weight (incl. packaging) | 207 g / 0.46 lbs |
| Packaging dimensions | 120 x 101 x 38 mm / 4.72 x 3.98 x 1.50 Inch |
| Hazardous material | No |
- Download Instruction / Anleitung / Manuel
- Download Auswertebogen (DE)
- Download Evaluation sheet (EN)
- Download Fiche d’évaluation (FR)
- Download Flyer Quality control with the NANOCOLOR analysis system (EN)
- Download Flyer Qualitätskontrolle mit dem NANOCOLOR Analysensystem (DE)
- Download Contrôle qualité avec le système d’analyse NANOCOLOR (FR)
Internal quality control with the NANOCOLOR system
Standards and addition solutions
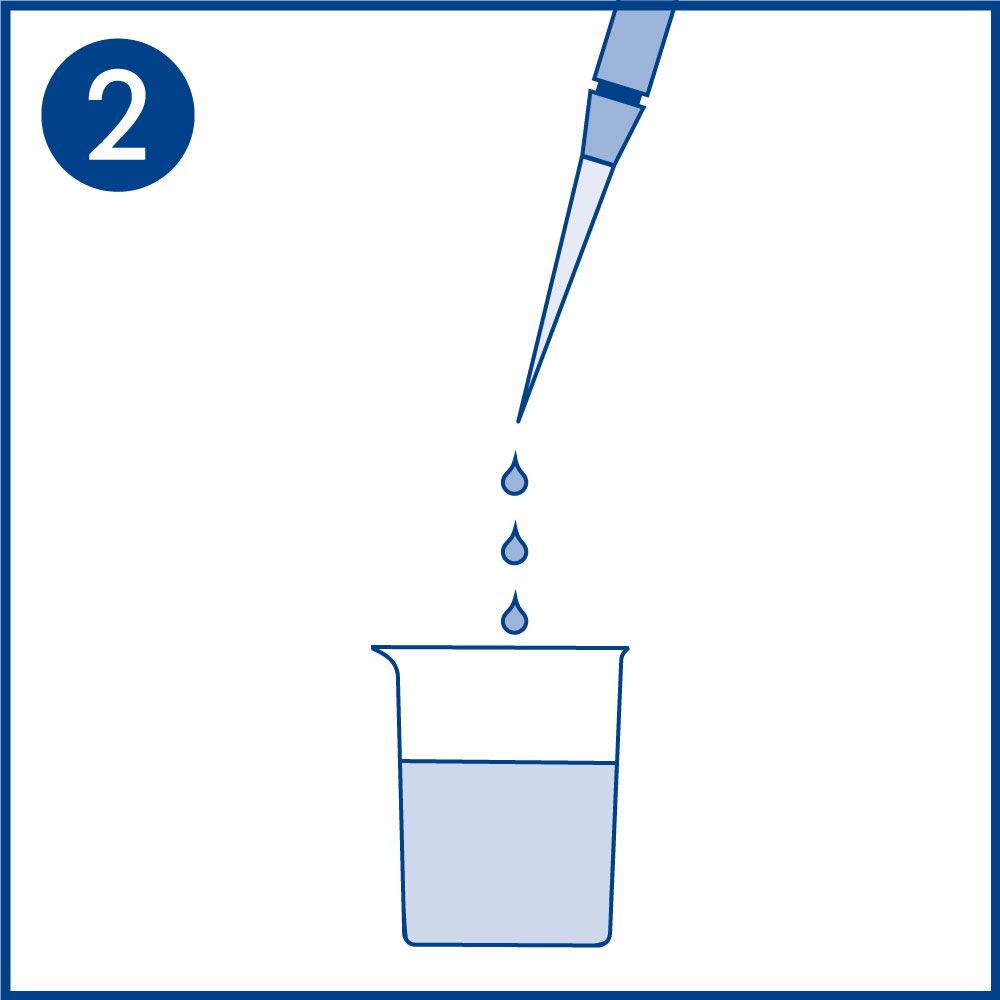
Standard measurements are the basis of a good Internal Quality Control. A standard measurement does not only control the correctness of the test kit, but also the device, user and accessories. NANOCONTROL standards contain reference substances in a defined concentration. They are applied instead of a water sample. The result is then compared to expected values and confidence intervals. Most standards also contain a NANOCONTROL 100+ addition solution. It can be used to identify matrix interferences of a certain water sample.
NANOCOLOR USB T-Set
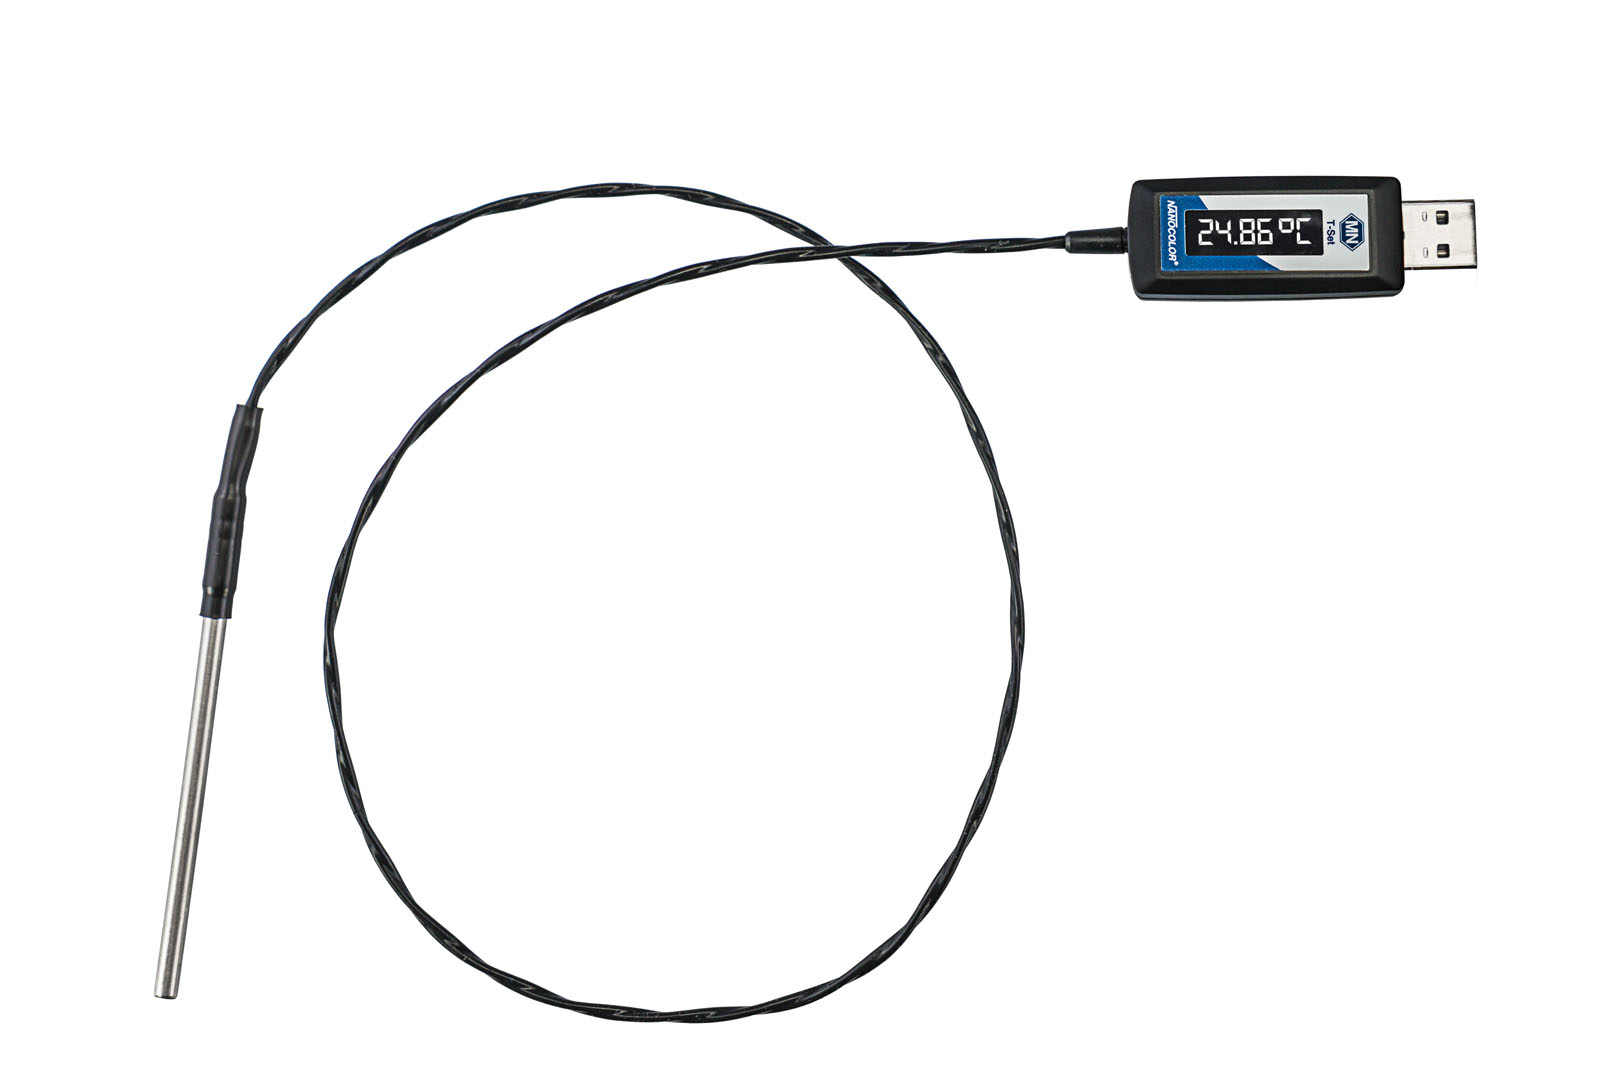
The unique inspection equipment NANOCOLOR USB T-Set is an electronic temperature sensor, which is suitable for the temperature control and automatic calibration of the latest NANOCOLOR heating blocks. The user can check the correct function of his heating blocks independently with the NANOCOLOR USB T-Set for Internal Quality Control purposes.For this reason the NANOCOLOR USB T-Set is an important building block for a comprehensive analytical quality assurance.
NANOCONTROL NANOCHECK 2.0
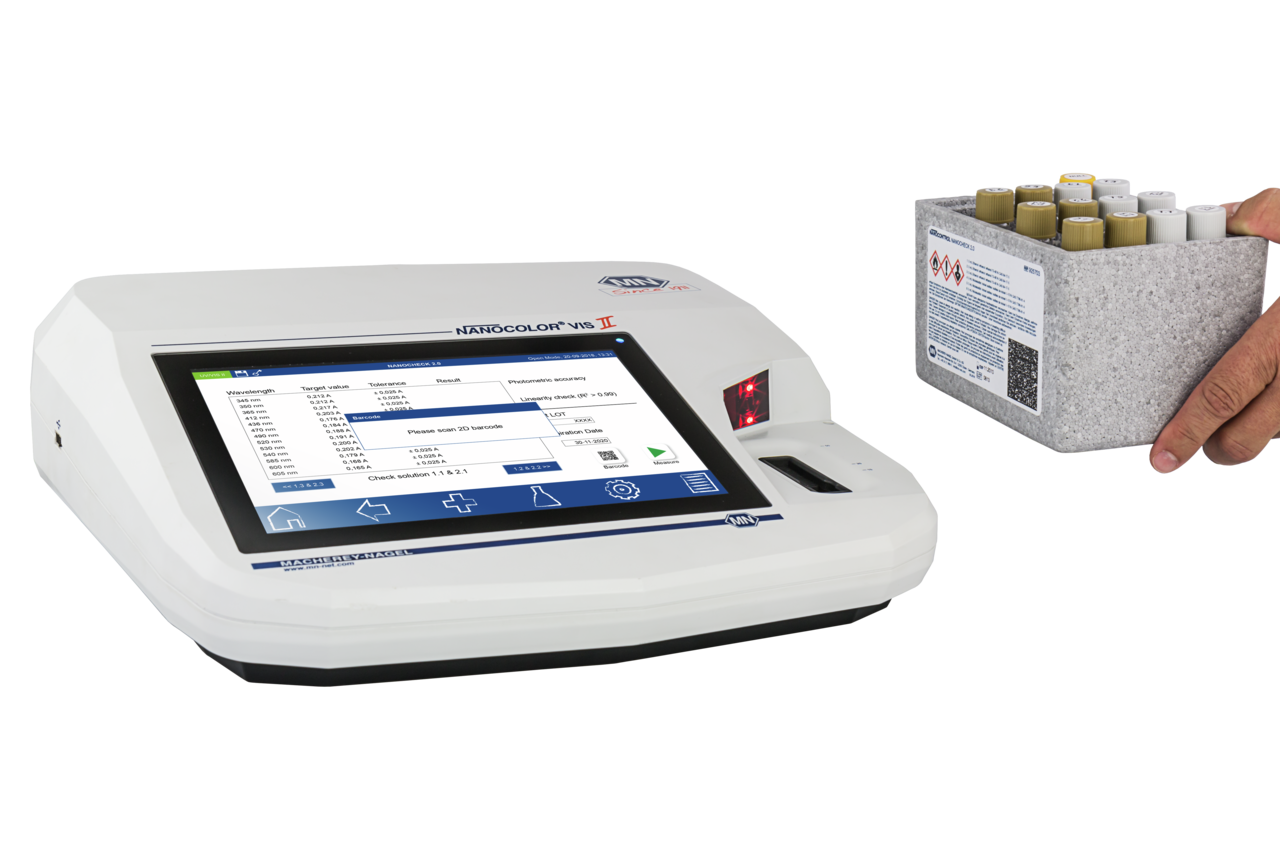
NANOCONTROL NANOCHECK 2.0 is used as secondary standard for the control of photometric accuracy and linearity. It is a very important tool for the inspection of spectrophotometers and filter photometers, to assure the device performance apart from the measurement of standards and addition solutions. The two color solutions are each provided in three different concentrations. They are controlled using a reference spectrophotometer and documented in a comprehensive certificate, which provides the values for these NIST-traceable control solutions.
An editable electronic evaluation sheet is available for each photometer on our website. The NANOCONTROL NANOCHECK 2.0 evaluation sheet fulfills requirements for quality assurance and serves as validation against authorities and supervisors.
NANOCONTROL NANOTURB
NANOCONTROL NANOTURB is a primary standard designed to calibrate and check nephelometric turbidity measurement units according to ISO 7027. Just 4 tubes (1, 4, 100, 400 NTU) are sufficient to safely calibrate your photometer. Moreover, NANOCONTROL NANOTURB does neither contain any dangerous substances which need to be labeled nor any carcinogenic compounds. The solutions come ready to use and just have to be inserted into the photometer. Thus, complicated dilution steps and handling any chemicals is safely avoided.
How it’s done

As a manufacturer of analytical measuring devices and test kits for chemical analyses, quality control is a topic of highest importance for us. Hereby, the areas of quality control and analytics are closely linked. The quality assurance of the measuring instruments plays an essential role in addition to securing the analysis procedure. Only the combination of equipment inspection and quality control of the analytical system ensures officially accepted results. MACHEREY‑NAGEL allows the user to perform an independent quality control of his whole NANOCOLOR analysis system.
- Single standards for most important parameters
- Multistandards combine all important parameters for certain fields of application
- 100+ addition solutions are already included in most standards
- Free of charge PC-software for forgery-proof documentation
- Comprehensive test protocol for internal documentation
- LED display to control the measured temperature
- Check all important wavelengths of NANOCOLOR test kits.
- 2D Barcode for comfortable programming
- CoA with references, absorbance and device independent target values
- Unique photometric linearity check
Our latest spectrophotometers are equipped with extensive quality control features. Besides the integrated f.o.c. inspection equipment monitoring tools, the devices offer a variety of quality control functions e.g. standard measurements, multiple determinations and dilution series. Therefore, our spectrophotometers NANOCOLOR VIS II and UV/VIS II make your Internal Quality Control easy and efficient as never before.
Spectrophotometers with IQC menu
- Photometric accuracy: Checking the photometric accuracy and linearity with NANOCONTROL NANOCHECK 2.0
- Wavelength accuracy: Integrated Holmium oxide filter to check the wavelength accuracy of the spectrophotometer
- Standard measurements: User friendly menu for fast and simple measurement of standards
- Spiking measurements: Step by step menu for measurements with standard addition solution
- Quality control chart: Clear IQC charts for each measured standard are available in the device or for export and printing
